If you encounter an “Allowed Memory Size Exhausted” or “Internal Server error 500” message while using Elementor, it indicates that your WordPress memory limit is insufficient. This can happen when trying to publish your updates and it can happen on only your home page or all your pages. Elementor is a resource-intensive plugin – It just requires more than the default 64MB to function smoothly. According to Elementor’s specifications, both Elementor and Elementor Pro need a minimum of 256MB of memory while angaero recommends to increase the limit to 512MB. To boost your WordPress Hosting memory limit, you’ll have to adjust the settings in your wp-config.php file either in your file manager or through an FTP client.
Check the current limit first
Before you manually increase the limit, I recommend you to check the current set limit first. There is a chance that it was already adjusted and that your error is caused by something else (maybe a plugin or theme issue), so it makes sense to take a quick look. In your WordPress dashboard, navigate to Elementor ➜ System Info. From the list, find PHP Memory Limit. This is the value that is your current memory limit set to, and this is what we are going to increase.

What you need to increase the memory limit
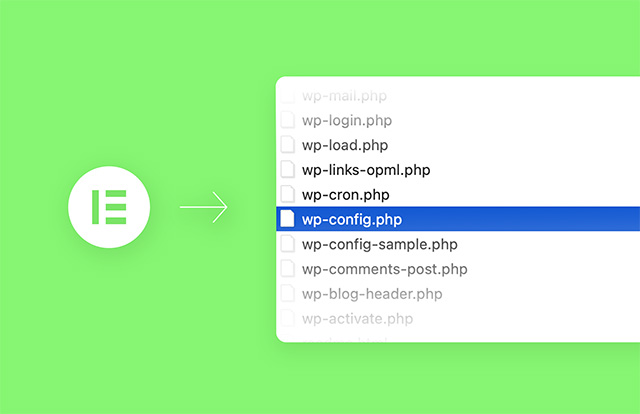
To access the wp-config.php file of your website (this is where we adjust the memory limit), you need either a file manager plugin (we recommend WP File Manager) or a FTP program such as Filezilla, which is available for macOS and Windows. However, you will need the login credentials for accessing your server. The easiest way is to use the file manager plugin and chances are you already use it.
Next, you need to locate your wp-config.php file, which is saved in your root directory.

Caution!
Editing your wp-config.php file in the wrong way can cause your website to crash. If you are uncomfortable, please ask your website admin to help you out.
Follow these steps
The process of increasing the memory limit for Elementor is pretty straightforward. Follow along and you’ll be done in no time:
- Download your wp-config.php file to your computer
- Make a backup of your existing file (you know, just in case)
- Use TextEdit or Editor to open it
- Locate the line that reads:
/* That's all, stop editing! Happy publishing. */
- Directly above this line, please paste the following line (click to copy)
define('WP_MEMORY_LIMIT', '512M');
- Save the file and close the editor
- Now go back to your WordPress backend and paste the file
- Choose replace or overwrite (remember you have a backup file)
- Now, go back to Elementor ➜ System Info and check if it worked
If everything worked out, you should see the new limit of 512 MB. If it didn’t work, you might have missed a step or accidentally uploaded the original file again. It’s worth noting that you do not have to increase the size to 512 MB, in some cases, 256 MB will be enough.
Let’s test now if everything works as it should. Open up the page you were trying to edit previously with Elementor (the one where the error occured), make your changes, and click Publish. If no errors occured, the problem is solved and your page is now published.
What to do if the issue is not fixed
If the problem still occurs and you can’t publish your progress, there might be another issue that is causing Elementor to fail. A common way to troubleshoot is switching to another template temporarily, or deactivating each installed plugin one by one until you’ve found the problem. There is a high chance a plugin is interfering.
Need professional help?
Don’t worry – we are here to help. Contact angaero today and we’ll bring your WordPress website back to life!


